
Taking on a full property overhaul requires far more than enthusiasm and a vision board. When multiple trades enter a structure simultaneously, confusion quickly reigns without a logical sequence. Floors get scratched, freshly painted walls sustain scuffs, and expensive mechanical upgrades end up compromised by uncoordinated structural work. A comprehensive renovation demands a methodical roadmap that establishes clear priorities from start to finish. Every trade professional depends on the groundwork laid by the specialist who came before them. When sequence takes priority over speed, the construction process moves forward smoothly and stays within budget.
Professional home remodelers understand that sequential logic dictates every success on the job site. Before any cosmetic decisions take center stage, the structural integrity and technical systems of the building must be evaluated. Attempting to install high-end finishes on an unstable framework leads to costly rework down the road. Property owners who outline their timeline through structured phases protect their financial investment while minimizing downtime. A master plan creates clarity for subcontractors, material suppliers, and building inspectors. It transforms what could easily become a chaotic construction site into an organized step-by-step project. By establishing a unified timeline early, owners can anticipate supply chain lead times, schedule inspections effectively, and maintain realistic expectations throughout the transformation of their living spaces.
Phase 1: Planning, Permitting, and Controlled Demolition
Every major structural project begins long before heavy equipment arrives on site. Architectural assessments, engineering reviews, and municipal permitting form the non-negotiable bedrock of a safe build. Obtaining permits upfront prevents severe delays and fines later when municipal inspectors evaluate structural modifications, wiring updates, and pipe routing. Once approvals are secured, the project transitions into controlled demolition. Stripping away outdated materials reveals the hidden truth of a building, exposing structural defects, water damage, or outdated wiring hidden behind old drywall.
Demolition must be precise rather than destructive. Workers must carefully remove cabinetry, flooring, and non-load-bearing walls without disturbing hidden utility lines. Sorting waste materials during demo keeps the job site safe and organized for arriving trade specialists. Identifying unexpected issues during this phase allows the project leader to adjust budgets and schedules early. Uncovering rot or sagging joists at this stage is actually beneficial because corrections are much simpler to implement before new infrastructure is installed. Once structural framing is exposed and cleared of debris, framing crews step in to reconfigure walls, reinforce floor joists, and create the physical layout needed for modern open-concept floor plans or new room additions.
Phase 2: Securing the Exterior Building Envelope

Before any interior mechanical work begins, the house must be completely watertight. Exposing fresh framing or high-value interior materials to rain, snow, or wind compromises structural integrity and encourages mold growth. Therefore, securing the roof, siding, windows, and exterior doors takes immediate priority following structural framing adjustments. A sealed shell protects both the existing framework and all upcoming interior installations from natural weather elements.
Addressing upper-level exterior vulnerabilities prevents costly water intrusion that could destroy fresh insulation and drywall down the line. Property owners facing missing shingles or decking degradation should arrange for prompt roof repair before moving to internal construction phases. Once the primary roof structure is sound and sealed, water management around the perimeter becomes the next priority. A proper gutter installation ensures that rainwater shedding off the roof is directed well away from foundation walls. Routing water away from the foundation prevents subterranean seepage, which can ruin new lower-level construction or erode foundational footings. Only after the roof, gutters, flashing, and window seals are fully secured should crews shift their primary focus inside the property boundaries.
Phase 3: Roughing In Mechanical and Electrical Infrastructure
With a completely weatherproof shell established, trade specialists can safely enter the interior framework to install rough mechanical systems. This stage involves running wires, ductwork, and conduit through open wall studs and floor joists. Because these systems will eventually be enclosed behind drywall, precision and full compliance with local building codes are essential. The sequence within rough mechanicals matters immensely, as ductwork and large utility piping occupy the most physical space and must be positioned first.
Air circulation and environmental control systems require significant clearance within structural cavities. Coordinating professional HVAC services early allows technicians to run main trunks, return lines, and flexible ductwork without interfering with electrical runs or plumbing lines. Modern heating and cooling equipment also demands proper ventilation routes that must pass through exterior walls or roof caps. Once ductwork is established, an electrician can navigate the remaining space to pull wiring, set outlet boxes, and establish dedicated circuits for heavy appliances. Mapping out switch locations, lighting fixtures, and high-voltage connections before drywall installation guarantees that the electrical system fully aligns with the lifestyle needs of the home.
Phase 4: Plumbing Framework and Water Heating Integration
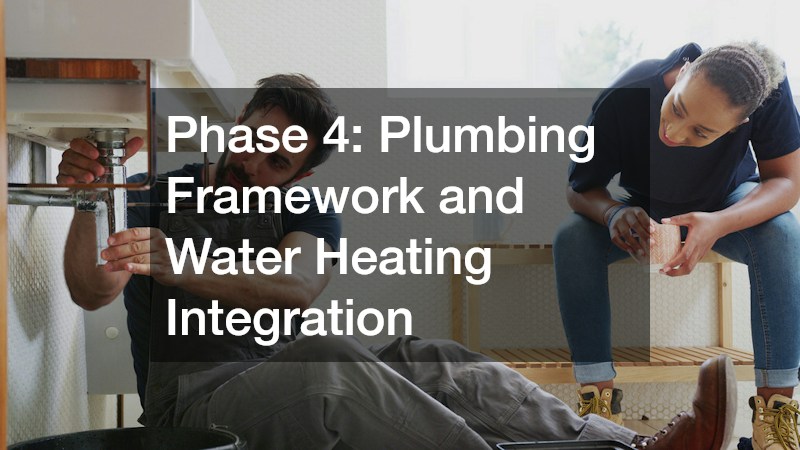
Plumbing systems require careful coordination alongside electrical and mechanical work. Supply lines, drain stacks, and vent pipes must be run through floors and walls with precise sloped gradients to ensure proper drainage. Modern plumbing updates frequently involve replacing old galvanized steel or copper lines with flexible, corrosion-resistant materials like PEX. Proper pipe routing prevents accidental punctures from drywall screws and ensures that water pressure remains steady across all floors of the house.
Upgrading hot water delivery systems is another critical milestone during rough plumbing. Property owners who require modern water heater services should coordinate equipment placement before finalizing utility closet layouts or finished basement floor plans. Installing a high-efficiency tankless or hybrid water heating system during the rough-in stage ensures proper gas line sizing, venting, and electrical connections are in place. Working with a licensed local plumber guarantees that all waste lines, supply pipes, and water-heating equipment adhere strictly to municipal standards. Passing rough plumbing inspections is mandatory before any wall framing is closed up with insulation. Once inspections are logged and approved, the home is finally ready for thermal protection and wallboard installation.
Phase 5: Insulation, Drywall, and Surface Preparation
Once rough mechanical, electrical, and plumbing systems pass municipal inspections, the home transitions into the enclosing phase. Insulation is packed into wall cavities, attics, and subfloors to regulate interior temperatures and reduce energy transfer. Depending on climate zones and building design, workers install fiberglass batt, blown-in cellulose, or spray foam insulation. Proper air sealing around window frames and exterior penetrations takes place simultaneously to maximize overall energy efficiency.
Drywall installation follows insulation, completely transforming open framing into identifiable living spaces. Hanging drywall requires patience, precise cuts around utility boxes, and careful handling. Taping, mudding, and sanding drywall seams is a multi-step process that demands adequate drying time between coats. Skipped steps or rushed drying cycles lead to visible seams and surface cracking once paint is applied. After drywall is smoothed and sanded, crews apply a dedicated primer coat to seal the paper face and joint compound. Primer creates an even surface texture, allowing final paint colors to adhere uniformly throughout every room.
Phase 6: Hard Surface Flooring and Interior Trim Carpentry
With walls primed and sealed, the project shifts toward interior craftsmanship and surface detailing. Flooring choices dictate the exact order of subsequent installations. Hardwood, tile, and luxury vinyl plank should generally be installed before interior doors, baseboards, and wall casing are set. Placing trim on top of finished flooring produces clean lines and eliminates the need for awkward quarter-round moldings. Tile work in bathrooms and entryways requires stable subflooring to prevent grout lines from cracking under daily foot traffic.
Trim carpenters install doors, window casings, baseboards, and decorative wall paneling once major flooring materials are secured. Fine woodworking demands stable indoor humidity levels, so home climate control systems must be running smoothly before trim materials are stored on site. Wood boards expand or contract based on environmental conditions, making climate stabilization crucial prior to installation. After trim installation, painters return to execute detail work. They fill nail holes, caulk gaps along trim lines, and apply final coats of interior paint to walls and woodwork. Executing painting after trim installation guarantees crisp color transitions and flawless surfaces across every living space.
Phase 7: Cabinetry, Countertops, and Mechanical Finishes
Kitchens and bathrooms represent major financial investments within a whole-house project. Cabinet installation requires plumb walls and level floors to ensure proper alignment. Skilled installers shim cabinet boxes, lock them securely into wall studs, and verify that upper units are perfectly level. Once cabinet frameworks are grounded, fabricators measure precise templates for stone or composite countertops. Countertop fabrication usually requires a week or two, creating a brief window for crews to focus on secondary interior tasks.
After countertops are set, trade professionals return to complete their final trim-out connections. Electricians mount light fixtures, cover plates, and appliances, while plumbers hook up sinks, faucets, and garbage disposals. Mechanical technicians set final grilles over air ducts and calibrate digital thermostats. Tile installers apply backsplashes above kitchen counters and inside bath enclosures. Installing backsplashes after countertops ensures tight, waterproof seals along high-moisture junctions. Once all fixtures are live and operable, secondary inspections occur to certify that electrical, plumbing, and mechanical installations meet local safety requirements.
Phase 8: Expanding Subterranean and Bonus Living Spaces
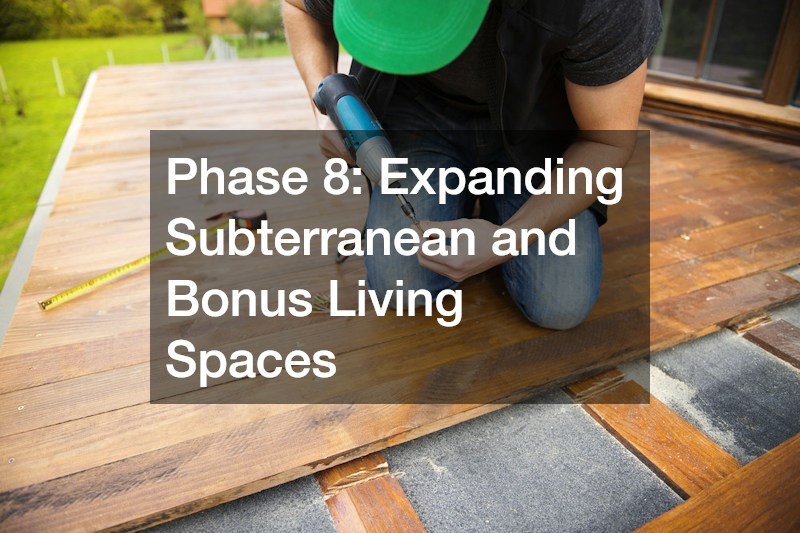
When main living areas near completion, attention often turns to lower-level expansions. Finishing lower levels provides substantial floor area for guest suites, entertainment centers, or home gyms. However, lower levels present unique structural and moisture challenges that must be addressed methodically. Vapor barriers, subfloor moisture management systems, and proper emergency egress windows are mandatory additions before adding frame walls below ground level.
Executing a successful basement remodel requires integrating these lower spaces into the home’s broader mechanical network. Supplemental heating and cooling loops must be routed, and sub-slab plumbing lines must be tied securely into main waste stacks. Because lower levels are naturally prone to dampness, selecting moisture-resistant wallboard, insulation, and flooring materials protects the investment long term. Finishing subterranean spaces late in the overall project timeline prevents construction dust and heavy trade traffic from compromising newly finished upstairs areas. Once lower levels are insulated, drywalled, and trimmed, they integrate effortlessly into the overarching floor plan of the residence.
Phase 9: Outdoor Living and Exterior Entertainment Zones
As interior work moves into its final cleanup stages, construction focus expands outward to exterior living areas. Modern property transformations frequently connect indoor spaces with outdoor entertainment hubs. Building exterior amenities requires structural foundations, utility connections, and weather-resistant materials that withstand local climate variations throughout the year.
Integrating custom backyard kitchens demands coordinated effort between outdoor construction specialists and utility trades. Running gas, water, and electrical supply lines underground to exterior islands must occur before patios or stone decking are poured and sealed. Stainless steel appliances, stone veneers, and granite surfaces must be rated for outdoor use to avoid premature weathering. Coordinating utility hookups with main house systems guarantees safe operation for outdoor grills, sinks, and refrigeration units. Completing hardscape structures, covered patios, and exterior dining zones enhances total living square footage while increasing overall property value.
Phase 10: Final Grading, Landscaping, and Property Handover
The final phase of a whole-house renovation shifts toward external aesthetics, site drainage, and total property integration. Heavy machinery, scaffolding, and trade vehicles take a toll on surrounding grounds during major construction. Restoring soil health, establishing proper slope away from structures, and planting appropriate vegetation completes the total transformation.
A comprehensive landscape design serves as the finishing touch for the entire property. Proper grading ensures that surface runoff moves away from newly installed hardscapes, driveways, and subterranean walls. Planting trees, shrubs, turf, and garden beds frames the exterior architecture while providing natural shade and privacy. Outdoor low-voltage lighting and irrigation systems can be installed across lawn areas during final planting adjustments.
Once exterior grounds are fully shaped and planted, the team performs thorough deep cleaning across every room inside the home. Air filters are replaced, windows are washed, and surface dust is removed from all ductwork. A final walkthrough between the project supervisor and the homeowner verifies that every detail aligns with original design specifications. With permits closed out, systems tested, and finishes polished, the house stands completely transformed, structured to provide comfort, efficiency, and beauty for decades to come.